Adding pleats for fuller silhouette and volume
Pleats are used to create volume and fullness in a garment. The fabric is folded or gathered, yielding a fuller silhouette while allowing freedom of movement and airflow.
Here’s how to add pleats and fullness with PolyPattern:
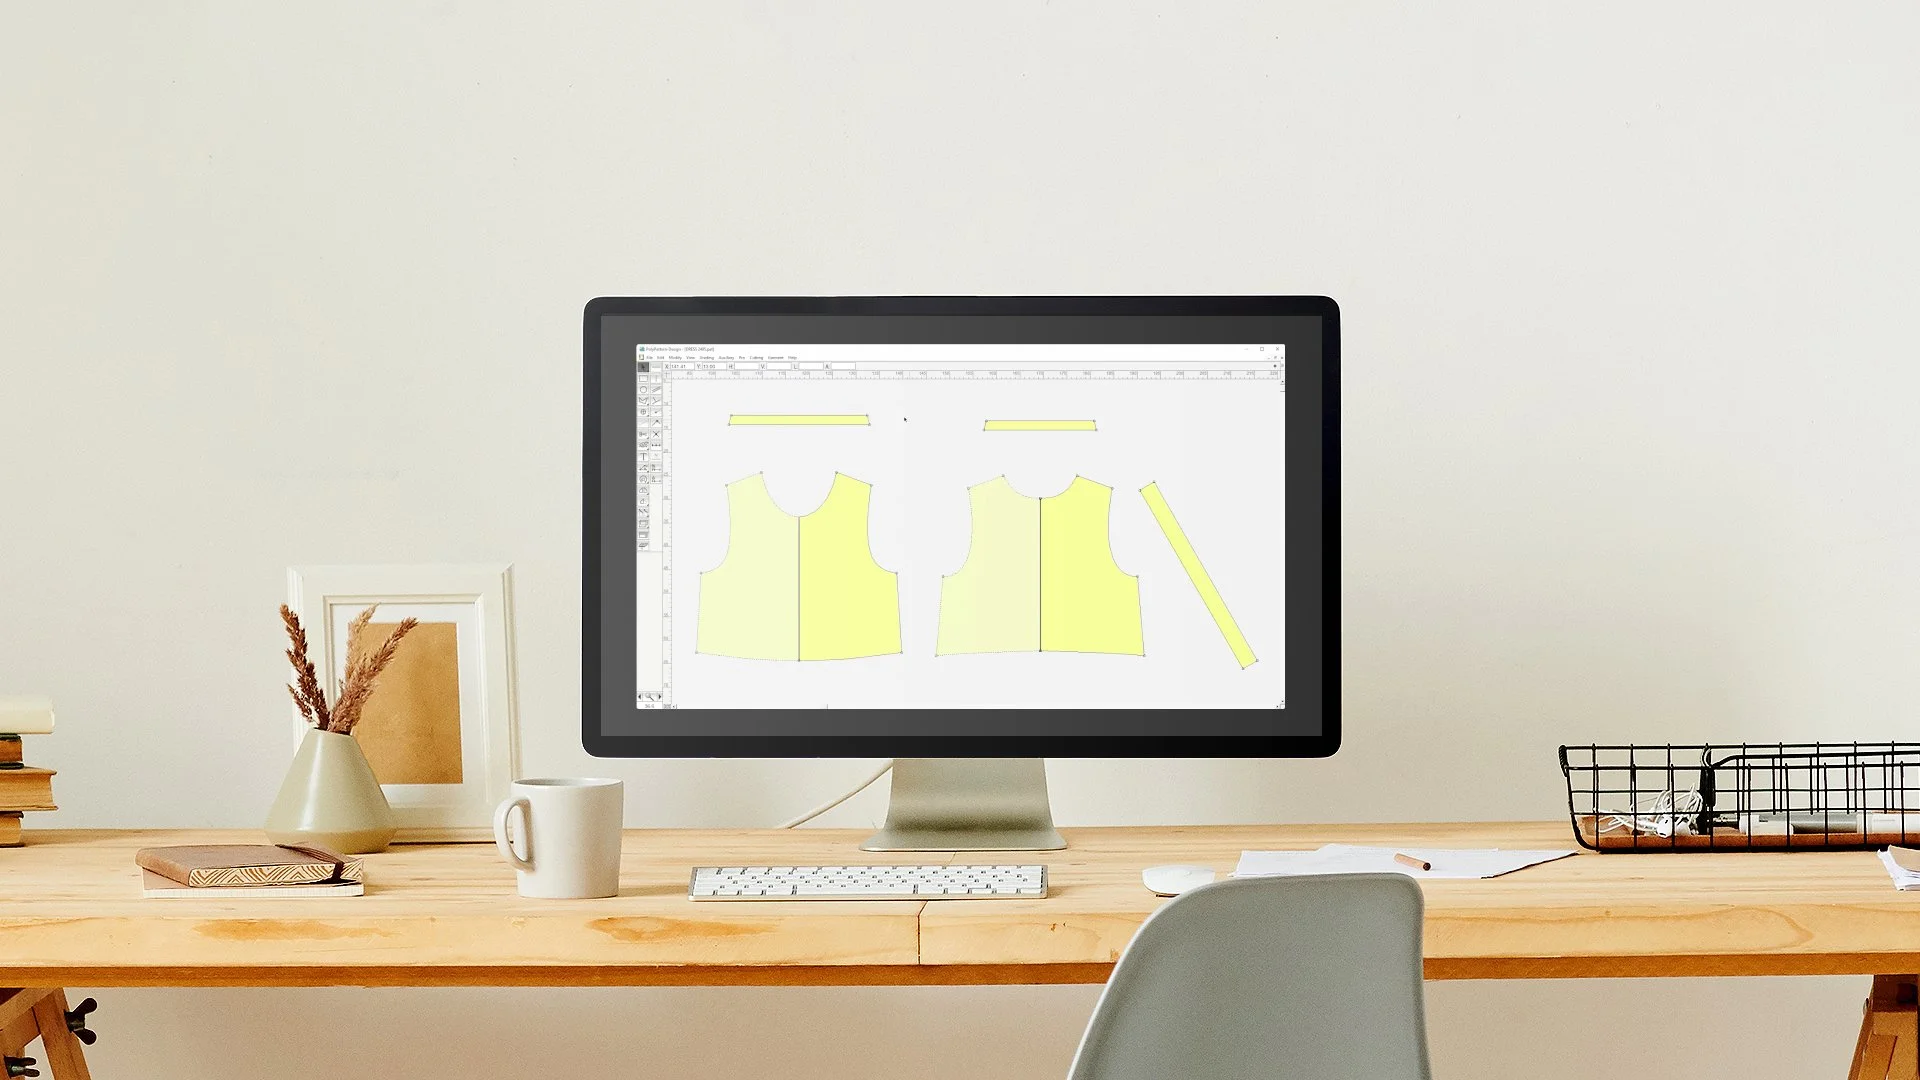
We begin by selecting the multiple pleat command and clicking on the shoulder and the hem to indicate the edges where the pleats will open.
In this example, we want annotation lines to mark the pleat, to constrain the pleats to vertical, a total of 5 pleats, with each pleat having a half-opening of half a centimeter. Finally, we tick “smooth”, to get fullness, not pleats, at the bottom hemline.
Check out the result! We have “pin tuck” pleats at the shoulder, and we’ve added 10 centimeters of fullness at the bottom hemline. To add similar pleats to the neckline, repeat the same steps.
Let’s now add fullness to the sleeve:
We’ll distribute the pleats along the entire length of the selected edges by selecting the “free” direction.
Next, we’ll again add 5 pleats, but this time we specify the total fullness to add, instead of the size of each pleat, 8 centimeters on one edge and 12 centimeters on the other.
That’s it! No matter what your pleat or fullness spec, PolyPattern empowers you to create what you need in no time.
Let us know of any questions and stay tuned for our next episode!


