
How to grade your patterns by adapting the base size


Pattern grading is the process of adapting the base size patterns to all the sizes we intend to produce.
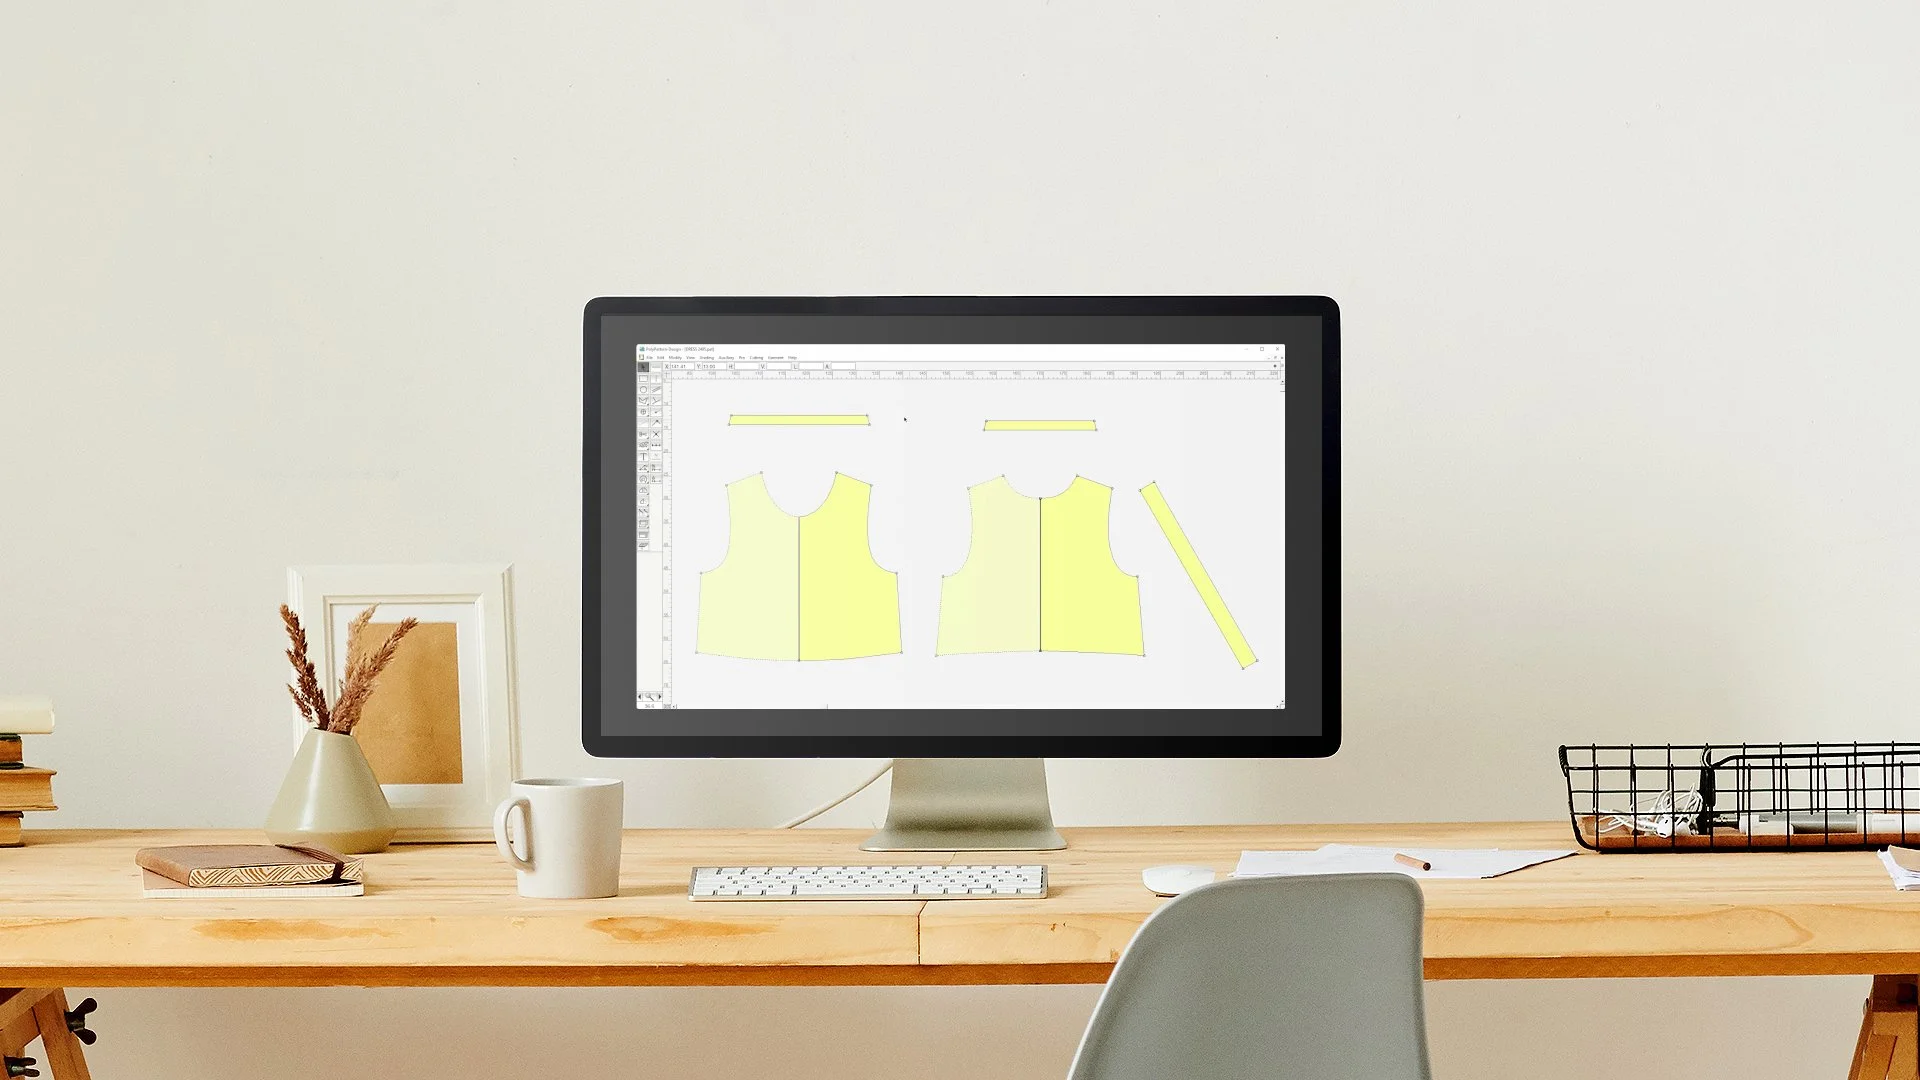
Here’s how to do that with PolyPattern:
We start by selecting the sizes we want to create, in this example extra small through extra large.
We’ll first grade the chest point. We enter 1 centimeter, and click on the right arrow to show we want to “grow” that point towards the right.
At the next point, we grow 1 centimeter to the right, and then specify a non-proportional step in the Y direction.
At the center point we copy only the length from the side point.
Then at the shoulder we do something really cool, we grade not in X and Y, but actually parallel to the shoulder.
We first create this line with one keystroke.
We then use the Grade Tool in combination with the parallel and perpendicular snaps, entering a grade step of 0.5 centimeter in the length input box for each direction.
Finally, we grade the back pattern by copying the entire grading from the front, and making a small adjustment at the center neckline point.
That’s it! Wasn’t that quick?! Those were just some of the ways we can accurately grade our patterns in PolyPattern. We’ll have more on this topic later.
Let us know of any questions and stay tuned for our next episode!